

Mineral buildup in coffee grinders can be a common issue that many coffee enthusiasts face. Over time, minerals from the water used to brew coffee can accumulate in the grinder’s blades and hopper, affecting the taste and quality of your daily brew.
This buildup can result in a bitter or metallic flavor in your coffee, and may even clog the grinder’s mechanisms, leading to reduced performance or complete malfunction. Understanding how mineral buildup occurs and learning effective ways to get rid of it is essential for maintaining optimal performance and prolonging the lifespan of your coffee grinder.
There are several methods you can use to remove mineral deposits from your coffee grinder effectively. One commonly recommended method involves using a mixture of white vinegar and water as a descaling solution. Running this solution through your grinder’s mechanism, it helps dissolve mineral deposits and remove any oily residue left behind by coffee beans.
Overview of How to get rid of mineral buildup in coffee grinders:
Mineral buildup is a common issue that coffee grinder owners face. Over time, minerals from hard water can accumulate in the grinding chamber and affect the performance of the grinder. To get rid of this buildup, there are several methods you can try. One effective method is to use a mixture of equal parts water and white vinegar. Another option is to use a commercial descaling product specifically designed for coffee grinders. Regular cleaning and maintenance are also key to preventing mineral buildup in your coffee grinder. Additionally, consider using filtered or distilled water instead of tap water when brewing your coffee as this can help reduce mineral deposits over time.
By regularly removing mineral buildup from your coffee grinder, you can ensure that it continues to produce fresh and flavorful grounds for years to come.
10 ways How to get rid of mineral buildup in coffee grinders
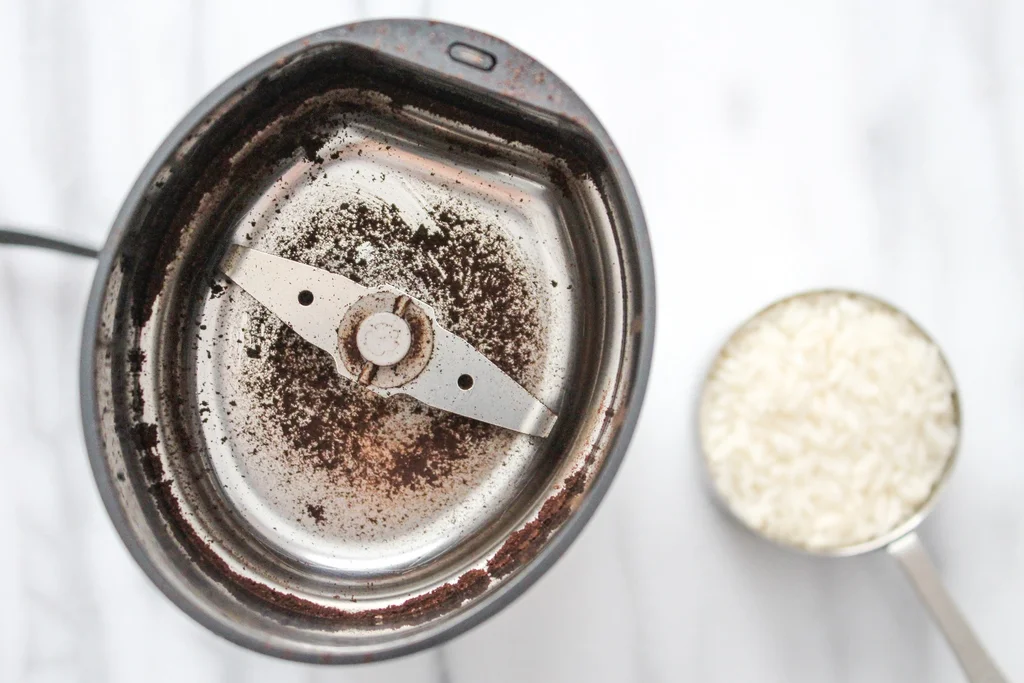
1. Rice and Vinegar Method
First, start by unplugging the grinder and removing any remaining coffee grounds or residue. Then, take a handful of uncooked rice grains and pour them into the grinder hopper. Next, add about one tablespoon of white vinegar on top of the rice. Afterward, cover the hopper with its lid and switch on the grinder for about 30 seconds. Once done grinding, discard the rice-vinegar mixture and wipe down all parts of the grinder with a clean cloth to remove any remaining debris or moisture.
2. Baking Soda and Water Solution
To create this solution, simply mix equal parts baking soda and water until it forms a paste-like consistency. Then, apply the mixture to the affected areas of the coffee grinder, such as the blades or grinding chamber. To use this solution, simply apply it to a soft cloth or sponge and gently scrub the affected areas of the coffee grinder. Rinse thoroughly with water afterward to remove any remaining residue.
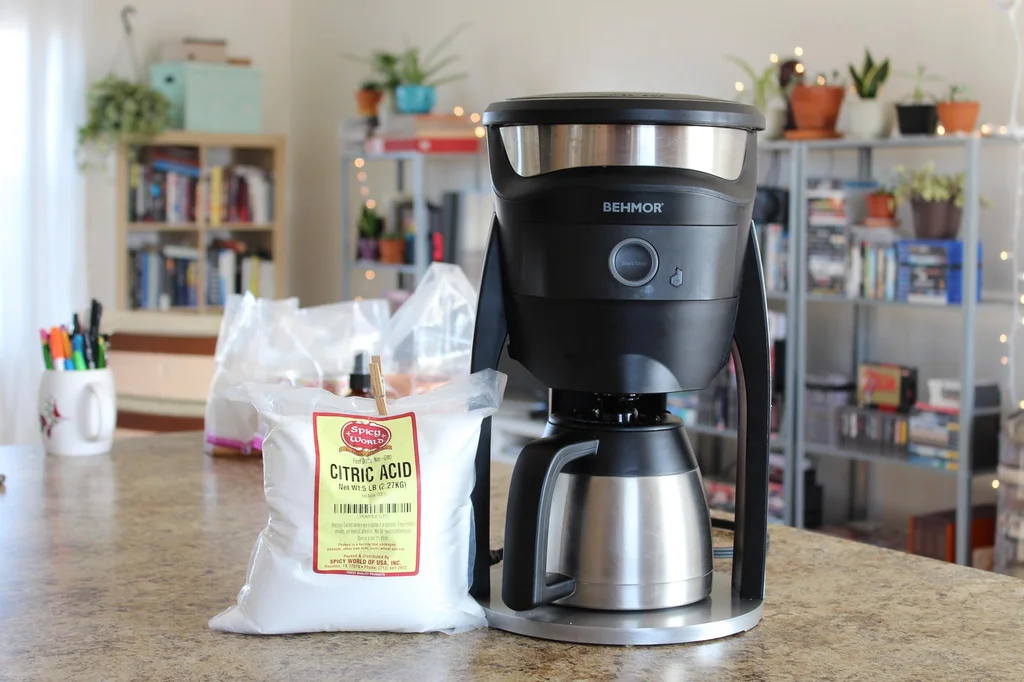
3. Citric Acid and Water Solution
To create the solution, mix one tablespoon of citric acid with one cup of water. Using this solution to clean your coffee grinder is simple and efficient. Start by unplugging the grinder and disassembling it as much as possible. Then, dampen a cloth or sponge with the citric acid and water mixture and gently wipe down all the removable parts, including the blades or burrs.
4. Commercial Coffee Grinder Cleaner
One popular option for cleaning commercial coffee grinders is using specially formulated cleaning tablets. Simply insert a tablet into the grinder and run it through a grind cycle. The tablet will dissolve and remove any built-up minerals, leaving you with a clean and efficient grinder.
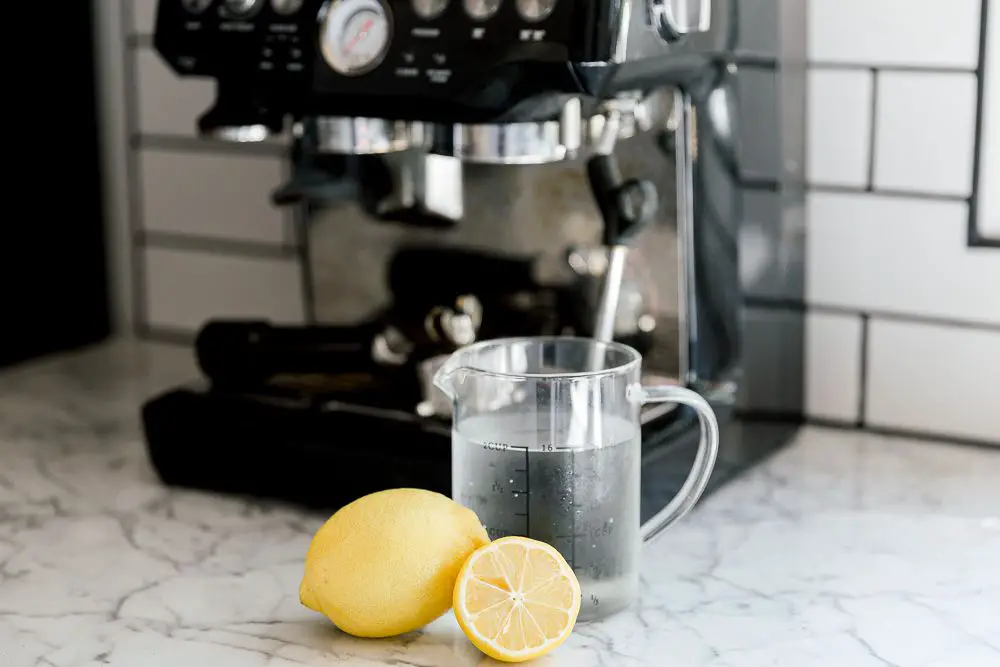
5. Boiling Water and Lemon Juice Soak
To begin, fill a pot with water and bring it to a boil. Cut one or two lemons in half and squeeze the juice into the boiling water. Drop the lemon halves into the pot as well. Turn off the heat and let the mixture cool for a few minutes. Once cooled, carefully pour this solution into your coffee grinder’s bean hopper, ensuring that it covers all parts affected by mineral buildup. Let it sit for about 10-15 minutes to allow the lemon juice’s acidity to work its magic on dissolving the minerals. Afterward, discard the liquid from your grinder and rinse thoroughly with clean water multiple times to remove any remaining residue or odor of lemon juice.
6. Dish Soap and Water Solution
To begin, unplug the grinder and remove any remaining coffee grounds or beans from the machine. Next, create a soapy solution by mixing a few drops of dish soap with warm water in a bowl. Dip a clean cloth or sponge into the mixture and gently scrub all accessible parts of the grinder, paying close attention to areas where mineral deposits are most likely to accumulate. Make sure to thoroughly rinse all parts with clean water after scrubbing to ensure no soap residue is left behind.
7. Grind Uncooked White Rice
Simply add a small handful of uncooked white rice into the grinder’s hopper and grind it as you would with coffee beans. The rice will help dislodge any stuck particles and absorb the minerals, leaving your grinder clean and ready for use.
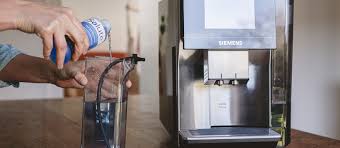
8. Vinegar and Water Solution
To use this solution, mix equal parts of distilled white vinegar and water in a spray bottle. After spraying the vinegar and water solution, allow it to sit for about 10-15 minutes to give it enough time to break down the minerals. Next, scrub the interior of the coffee grinder using a soft brush or toothbrush to help loosen any stubborn deposits. Once you have thoroughly scrubbed all areas, rinse out the grinder with clean water until there are no traces of vinegar left behind.
9. Ice and Salt Grind
To begin, gather a handful of ice cubes and about ¼ cup of table salt. Add the ice cubes into the grinder hopper, followed by the salt. Make sure the grinder is empty before starting this process. Turn on the grinder and let it run for about 15-20 seconds or until all the ice and salt have been ground into a fine powder.
10. Deep Clean with a Toothbrush and Water Solution
To start, unplug the grinder and remove any removable parts such as the hopper or burrs. Dip a toothbrush into a mixture of warm water and mild dish soap, making sure it’s not too sudsy. Gently scrub all visible surfaces inside the grinder, paying extra attention to areas where minerals are likely to build up, such as around the burrs or on the walls of the hopper. Rinse thoroughly with clean water until no soap residue remains.
Conclusion:
Mineral buildup in coffee grinders is a common problem that can impact the flavor and performance of your coffee. By regularly cleaning and descaling your grinder, you can effectively remove mineral deposits and ensure optimal grinding results. Remember to follow the manufacturer’s instructions for cleaning and use appropriate cleaning agents.
Additionally, consider using filtered or distilled water to minimize mineral buildup in the first place. Taking these simple steps will help prolong the lifespan of your coffee grinder and enhance the taste of your morning brew. Don’t let mineral buildup ruin your coffee experience – take action today to keep your grinder clean and your coffee delicious!